Best fried whiting recipes for a crispy, delicious meal.
Table of Contents
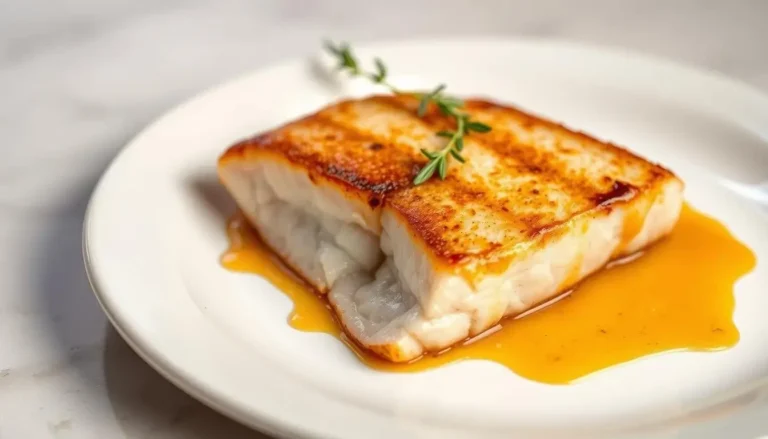
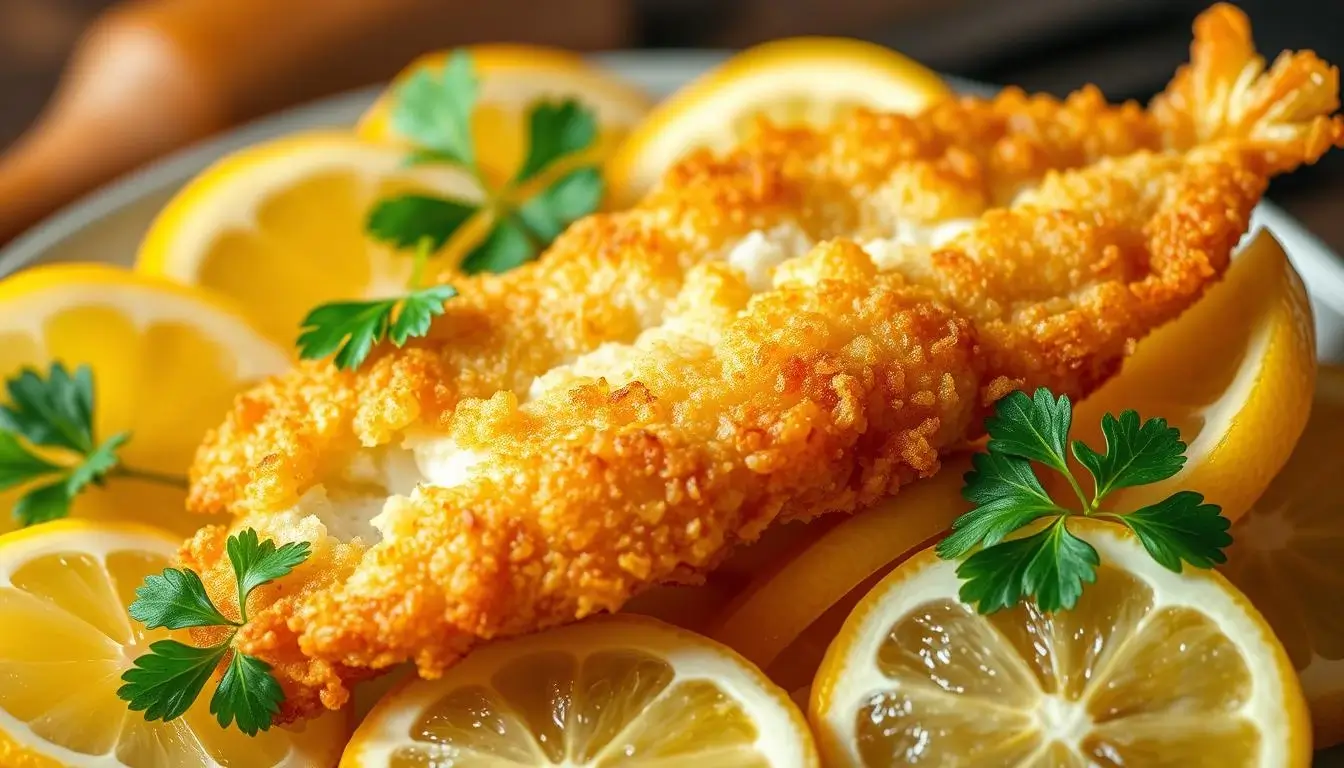
fried whiting
It’s a warm summer evening, and the air smells like golden-brown perfection. Your grandma stands over a cast iron skillet, her hands dusted with cornmeal as she carefully coats each piece of fish. The sizzle of oil fills the kitchen, and you know that crispy, tender meal will be ready in minutes. That’s the magic of Southern-style fish fry nights – a tradition we’re bringing straight to your table.

This guide unlocks the secrets to crafting that same crispy, tasty meal at home. If you’re just starting out in the kitchen or have years of experience, you’ll be able to perfect a dish steeped in traditional culinary practices. A simple blend of cornmeal and flour forms the base of the coating, delivering a texture that’s light yet satisfyingly crisp.
No need to stress about fresh catches – frozen fillets work just as well. You’ll learn how to adapt methods for any kitchen setup while honoring generations of culinary wisdom. Plus, we’ll share creative ways to serve your creation, turning weeknight dinners into memorable feasts.
Key Takeaways
- Rooted in Southern traditions, this dish connects you to timeless cooking methods.
- A cast iron skillet ensures even heat for that signature golden crust.
- The cornmeal-flour mix creates a balanced crunch without heaviness.
- Fresh or frozen fillets deliver consistent results every time.
- Restaurant-quality texture is achievable in under 30 minutes.
Introduction to the Fried Whiting Experience
Every bite tells a story in Southern households, where golden-crusted fish carries generations of shared memories. This dish isn’t just about flavor—it’s a celebration of heritage passed down through Sunday suppers and backyard gatherings.
Understanding the Southern Tradition
African American communities have cherished this meal for decades, valuing its affordability and delicate sweetness. Families often gathered around cast iron skillets, transforming simple ingredients into something extraordinary. Salt and pepper became the backbone of seasoning, letting the fish’s natural taste shine while creating that crave-worthy crunch.
Historical records show coastal towns relied on fresh catches for survival, turning necessity into art. Today, these methods connect modern kitchens to ancestral roots. Homemade tartar sauce—tangy and cool—adds the perfect contrast to the warm, crispy coating.
Why You’ll Love This Recipe
You’ll appreciate how quickly it comes together, ideal for busy weeknights or weekend feasts. The balance of textures—crispy outside, tender inside—makes each mouthful satisfying. Plus, it’s versatile: serve with collard greens for authenticity or pair with zesty slaw for a fresh twist.
This approach honors tradition while fitting seamlessly into contemporary life. As you master the technique, you’re not just cooking—you’re keeping stories alive. Next, we’ll explore the tools and ingredients that make this dish unforgettable.
Essential Ingredients and Tools for a Perfect Meal
The key to crafting any unforgettable dish lies in selecting high-quality ingredients and dependable tools. Let’s explore what transforms basic fish into a crispy masterpiece while honoring Southern culinary roots.
Choosing the Freshest Catch
Seek out fillets that have a firm texture, clear flesh, and a fresh ocean aroma. Avoid any discoloration or sliminess. Freshness ensures tender results, but frozen options work beautifully when thawed overnight in the fridge. Ensure they are thoroughly dried—excess moisture hinders achieving crispiness.
Your coating mix matters. Cornmeal adds rustic texture, while all-purpose flour creates a light, golden crust. Mix in paprika and garlic powder to enhance the flavor. Skip pre-mixed seasonings; blending your own lets you control flavor intensity.
Must-Have Kitchen Tools
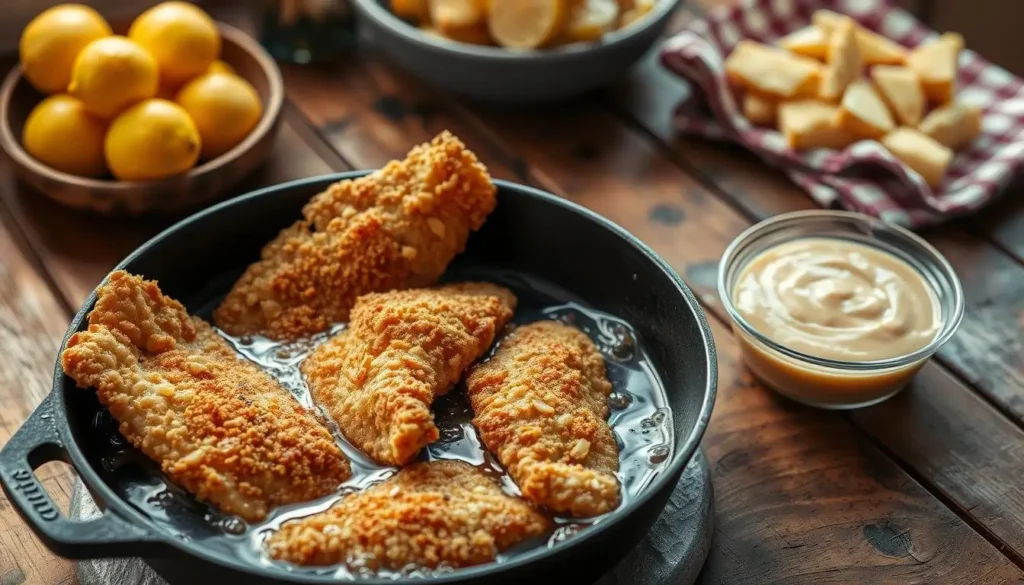
A cast iron skillet is non-negotiable. Its heavy base distributes heat evenly, preventing burnt spots. Pair it with a deep-fry thermometer to maintain oil at 350°F—the sweet spot for crunch without greasiness.
Vegetable oil handles high heat best, but peanut oil works too. Use enough to submerge fillets halfway. Metal tongs let you flip safely, and wire racks keep finished pieces crisp. With these tools, even first-timers achieve pro-level results.
Investing in quality ingredients and equipment isn’t just practical—it connects you to generations who turned humble meals into cherished traditions. Now that your kitchen is prepped, let’s dive into the cooking process.
Step-by-Step Preparation Guide for Your Recipe
Let’s transform your kitchen into a crisp-crafting workshop. These methodical steps ensure your coating stays put and fries up golden every time. Master the three-phase process below, and you’ll build flavor layers like a seasoned chef.
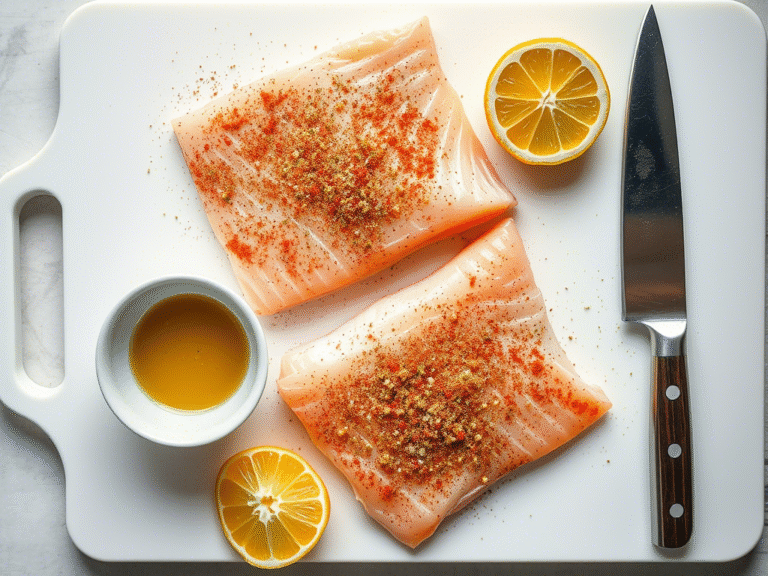
Prepping the Fish and Seasoning Lightly
Pat fillets dry with paper towels—moisture sabotages crunch. Evenly coat both sides with salt and pepper, then set aside for 5 minutes. This brief rest lets the seasoning penetrate while prepping your coating mix.
Creating the Ideal Cornmeal and Flour Coating
In a shallow dish, mix together 1 cup of cornmeal, ½ cup of flour, 1 teaspoon of paprika, and ½ teaspoon of garlic powder. Whisk until fully blended. The cornmeal-flour duo creates a textured grip that locks in moisture while frying.
| Step | Purpose | Pro Tip |
|---|---|---|
| Seasoning | Enhances natural flavor | Use kosher salt for better adhesion |
| Dredging | Creates crispy shell | Press mixture gently into fillets |
| Resting | Sets the breading | Use a wire rack for air circulation |
Letting the Breading Set for Maximum Crispiness
Once coated, arrange the fillets on a wire rack for 10-15 minutes. This waiting game lets the flour hydrate, forming a glue-like bond. Gently shake excess flour before frying—too much coating leads to clumping.
Patience here pays off in crunch. The resting phase prevents breading slippage and ensures even browning. Now that your fillets are prepped, you’re ready to master the frying techniques we’ll explore next.
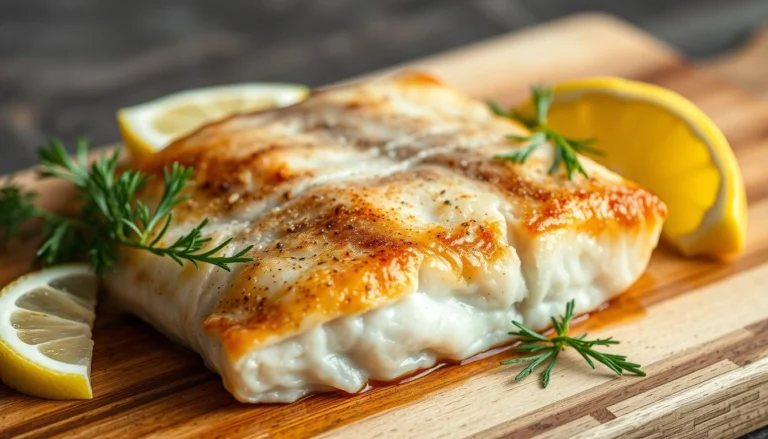
Fried Whiting: Secrets to Crispy Perfection
The crackle of hot oil signals the moment of truth in any fish fry. Mastering these final steps separates a soggy letdown from that crunch you can hear across the room. Let’s break down the science behind golden perfection.
Hitting the Oil Sweet Spot
Your oil should be maintained at a temperature between 350°F and 375°F. Too cool? The coating absorbs oil like a sponge. Too hot? Burnt exteriors with raw centers. Use a deep-fry thermometer clipped to your cast iron skillet or deep fryer basket for precision.
- Heat vegetable oil in a heavy pan until shimmering
- Drop in a breadcrumb – it should immediately produce a sizzling sound
- Adjust burner to maintain steady heat
Frying Like a Pro
Never crowd the pan. Space fillets at least 1 inch apart to prevent temperature drops. Fry in smaller portions if necessary – taking your time ensures a uniform color. For pan fried magic:
| Method | Time | Result |
|---|---|---|
| Cast Iron Skillet | 3-4 mins per side | Ultra-crisp crust |
| Deep Fryer | 2-3 mins total | Lighter texture |
Drain on a wire rack, not paper towels. This keeps steam from softening your hard-earned crunch. Time it right with a kitchen timer – most fillets need just minutes minscook per batch.
These southern fried techniques work whether you’re using grandma’s skillet or modern appliances. Now that your fish shines, let’s explore how to make it sing with bold flavors and sides.
Tips and Tricks for Southern Style Fried Whiting
Transform your kitchen into a flavor lab with these customizable twists. A great fish recipe becomes unforgettable when you make it your own. Let’s explore how to boost taste and texture while keeping things simple.
Enhancing Flavor with Seasonings and Sauces
Start by mixing spices in small batches. Try smoked paprika with a pinch of cayenne for heat, or lemon zest with dill for brightness. Always taste your seasoning blend before coating—it prevents over-salting.
For gluten-free versions, swap flour with almond or coconut flour. Add 1 tsp baking powder to keep the coating light. Want extra crunch? Dip fillets in buttermilk before dredging for a wet batter effect.
| Seasoning Blend | Best For | Pairing Sauce |
|---|---|---|
| Cajun Spice | Spicy lovers | Remoulade |
| Herb Garden | Light flavors | Lemon Aioli |
| Smoky BBQ | Bold tastes | Spicy Mayo |
Set a kitchen timer for precise results—most fillets need 3-4 minutes per side. Share your creations using recipe pins on Pinterest. Tag friends who’d love this fish recipe!
Remember: salt and pepper form the foundation. Build from there with spices that complement your meal. One tweak can turn a classic into your signature dish.
Creative Serving Suggestions and Pairing Ideas
Your golden-crusted creation deserves a stage that matches its crunch. Whether you’re plating for family dinner or crafting Instagram-worthy meals, these ideas turn simple dishes into showstoppers. Harmonize textures and flavors to ensure each bite is unforgettable.
Classic Sides That Complement Your Meal
Pair your crispy fillets with hushpuppies for a traditional Southern feast. Tangy coleslaw cuts through richness, while seasoned fries add salty contrast. Steam fresh green beans in 10 minutes mins for a crisp-tender side.
| Side Dish | Prep Time | Flavor Pairing |
|---|---|---|
| Buttermilk Biscuits | 15 minscook | Honey Butter |
| Cheese Grits | 20 minstotal | Chives |
| Sweet Potato Wedges | 25 mins | Chipotle Mayo |
Drizzle hot sauce over fillets for a spicy kick. Mix tartar sauce with pickle relish for extra zing. Time sides to finish with the main dish—start fries when fish has 8 minutes minscook remaining.
Transforming the Dish into a Tasty Sandwich
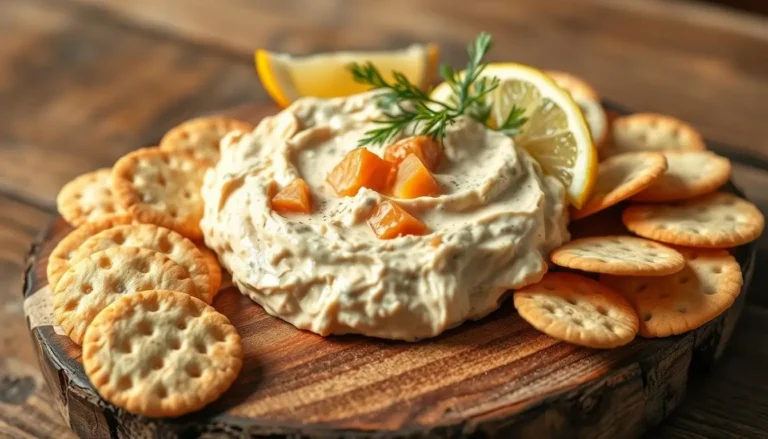
Layer fillets on toasted wheat bread with lettuce and tomato. Add avocado slices for creaminess. Leftovers? Chop fillets for fish tacos or salad toppings—they stay crisp for up to two days refrigerated.
Snap photos before serving. Use natural light and rustic boards for recipe pin-worthy shots. Share your twist online with #CrunchMaster—tag friends who crave crispy meals. Share your culinary creations with neighbors by providing them with printed recipe cards to try their hand at your delicious dishes.
Chill sweet tea or lemonade for refreshing sips. Garnish plates with lemon wedges—citrus brightens every bite. Your kitchen, your rules: swap sides weekly to keep dinners exciting!
User Experiences and Recipe Variations
The sizzle of a family recipe often carries more than just flavor—it’s a vessel for memories. From coastal Louisiana to Appalachian kitchens, cooks add their signature spin to this classic dish. One Alabama grandmother shared how she swaps cod for a milder taste, while a Texas chef adds smoked paprika to honor local BBQ traditions.
Personal Stories and Regional Influences
Online forums buzz with stories like Martha’s—a South Carolina native who fries her fish at 375 degrees to honor her father’s diner-style technique. Others recall using cast iron skillets passed down through generations. Regional twists shine: Midwest cooks add cornflake crumbs for crunch, while New Englanders pair fillets with maple-glazed veggies.
Adapting for Dietary Preferences
Gluten-free? Replace flour with almond meal and extend the oil frying duration by 1 minute. For low-sodium diets, use lemon zest instead of salt. Keeping oil at 350-360 degrees ensures crispy results without compromising texture.
| Modification | Key Adjustment | Result |
|---|---|---|
| Gluten-Free | Almond flour + tapioca starch | Light, golden crust |
| Pescatarian | Cod substitution | Milder flavor profile |
| Low-Carb | Pork rind coating | Crunchy, keto-friendly |
Share your twist in the comments—your recipes could inspire someone’s new family tradition. Did your grandma add cayenne? Does your version use air frying? Every adaptation keeps the spirit alive while welcoming modern tastes.
Conclusion
There’s something timeless about gathering around a table where crispy golden fillets take center stage. You’ve journeyed through selecting fresh ingredients, mastering cornmeal coatings, and perfecting sizzling techniques rooted in Southern kitchens. Remember: maintaining oil at 350-375°F ensures that signature crunch, while draining on paper towels keeps results crisp without greasiness.
This recipe bridges generations—simple enough for weeknights yet rich with heritage. Share your creations using #SouthernCrunchChronicles to join a community preserving these flavors. Whether you stick to tradition or add bold spices, each bite carries stories waiting to be retold.
Prepare your cast iron skillet and feel free to get creative. After draining on fresh paper towels, pair your golden masterpiece with zesty slaw or fluffy biscuits. You now hold the tools to turn humble ingredients into lasting memories. What twist will you bring to this classic dish?
FAQ
How does Southern tradition influence this recipe?
The method draws from classic techniques like using a cast iron skillet for even heat distribution and a cornmeal-based coating for crunch. It’s designed to honor the simplicity and bold flavors of coastal Southern cooking.
What’s the best way to check if the oil is hot enough?
Use a cooking thermometer to ensure it reaches 350–375°F. If you don’t have one, test by sprinkling a pinch of flour into the oil—if it sizzles immediately without burning, it’s ready.
Can I substitute another type of fish?
Yes! Cod or tilapia work well, but adjust cooking times based on thickness. Thinner fillets cook faster, so monitor closely to avoid overcooking.
How do I prevent the coating from falling off during frying?
Pat the fillets dry before dredging, and let them rest for 5–10 minutes after coating. This helps the breading adhere better to the surface.
What sides pair well with this dish?
Classic options include coleslaw, hushpuppies, or seasoned fries. For a lighter meal, try a citrusy salad or roasted vegetables.
Can I make this recipe gluten-free?
Absolutely. Swap regular flour for a gluten-free blend and use certified gluten-free cornmeal. Double-check seasoning labels to ensure compatibility.
Why is a cast iron skillet recommended?
Cast iron retains heat efficiently, creating a crispy exterior while keeping the inside tender. It also adds a subtle depth of flavor that complements the seasoning.
How long does it take to cook the fish?
Fillets typically take 3–4 minutes per side in hot oil. Thicker cuts may need an extra minute, but avoid overcrowding the pan to maintain temperature.