
How to Cook Beef Neck Bones in a Slow Cooker: A Step-by-Step Guide
Table of Contents
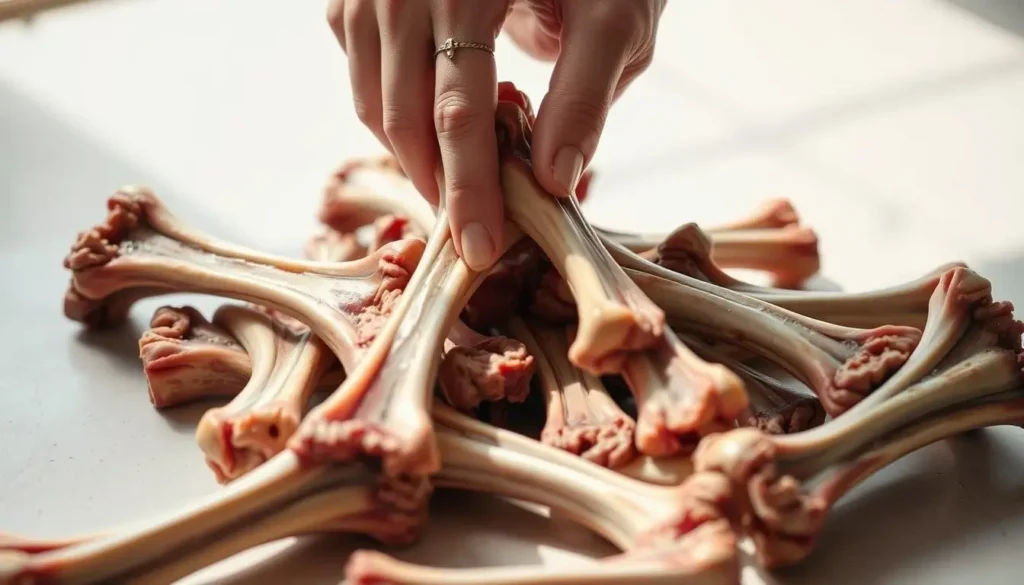
Beef Neck Bones Recipe
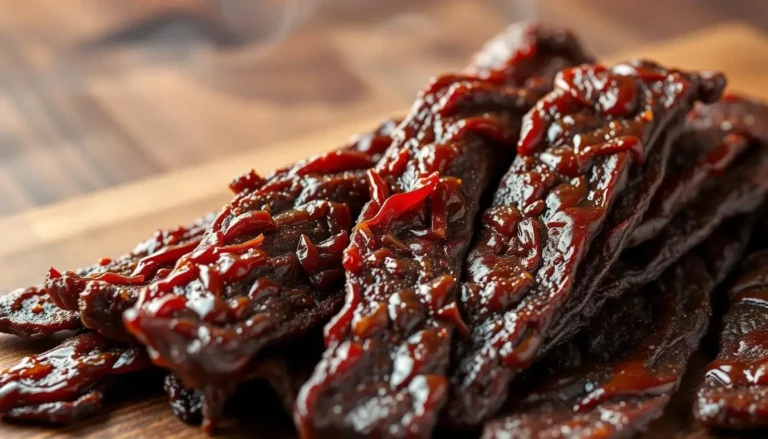
It’s a chilly Sunday afternoon, and your kitchen smells like a cozy diner. You’ve just pulled apart a fork-tender cut of meat that practically melts off the bone. Your family gathers around, eager to dig into a meal that tastes like it simmered all day (because it did). The secret? A humble, budget-friendly ingredient that transforms into something extraordinary with patience and the right spices.

Slow cooking is magic for tougher cuts. Low heat breaks down connective tissue over hours, turning chewy pieces into juicy, fall-off-the-bone goodness. This method locks in flavors from garlic, cumin, and a hint of heat from red pepper flakes. A quick sear in olive oil first adds a caramelized crust that’ll make your taste buds sing.
You’ll love how simple this is. In under 10 minutes of prep, you’ll layer spices, flour, and aromatic veggies like onions into your cooker. Five hours later, you’ve got a hearty dish that pairs perfectly with creamy sides. Let’s dive into how to choose the best cuts, master the sear, and create a meal that feels like a warm hug on a plate.
Key Takeaways
- Slow cooking transforms tough cuts into tender, flavorful meals effortlessly
- A blend of spices like cumin and allspice creates depth in every bite
- Browning the meat prior to cooking infuses the dish with a deep, caramelized taste
- Proper prep ensures even cooking and maximum tenderness
- This affordable option works beautifully with comfort food sides
- Minimal hands-on time makes it ideal for busy home cooks
Choosing and Preparing Beef Neck Bones
Starting with the best cuts ensures your meal will be rich and tender. Proper selection and prep work lay the groundwork for succulent results. Let’s break down how to pick premium ingredients and get them ready for the slow cooker.
Selecting Quality Neck Bones
Look for pieces with visible marbling and a pinkish-red hue. Marrow-filled centers add richness to broths, while meaty sections promise hearty bites. Avoid cuts with gray spots or a strong odor—these indicate aging. Freshness matters most for flavor development.
Cleaning and Prepping for the Slow Cooker
Rinse each piece under cold water to remove bone fragments. Trim excess fat with kitchen shears, leaving just enough to keep the meat moist. Pat dry thoroughly—this helps spices stick and creates a perfect sear. Pro tip: Use paper towels to absorb moisture quickly.
Season generously with salt, black pepper, cumin, and allspice. Rub spices into every crevice for maximum flavor penetration. Let the meat rest for 5-10 minutes before cooking. This simple step allows seasonings to bond with the surface, creating a savory crust during cooking.
Cooking Process in the Slow Cooker
Transform raw ingredients into fork-tender perfection with these precision steps. Proper heat management and timing turn simple components into a soul-warming meal.
Searing and Browning for Enhanced Flavor
Warm 2 tablespoons of oil in a frying pan over medium-high. As soon as the oil is glistening, sear the seasoned pieces for 60 seconds on each side. This creates a caramelized crust through the Maillard reaction—a chemical process that boosts savory depth.
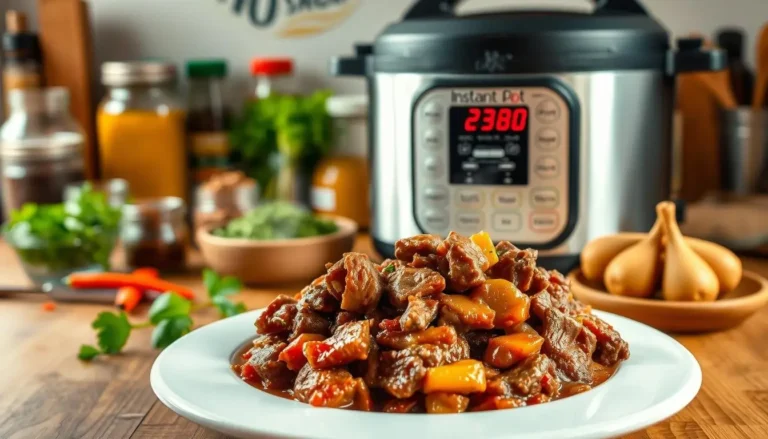
Transfer seared pieces to your preheated slow cooker. Add minced garlic, sliced onions, and 3 cups of broth. The liquid should cover half the meat for even cooking.
Optimizing Slow Cooker Settings and Timing
Set your appliance to High for the first hour to jumpstart tenderness. Then reduce to Low for 4-6 hours. Collagen disintegrates slowly at lower temperatures, guaranteeing a tender, melt-in-your-mouth experience.
| Cooking Phase | Temperature | Duration | Purpose |
| Initial Cook | High | 1 hour | Activates collagen breakdown |
| Final Cook | Low | 4-6 hours | Completes tenderization |
Check doneness at 5 hours. The meat should come apart effortlessly when tested with a fork. Adjust salt levels before serving if needed.
Enhancing Flavor: Seasonings, Vegetables, and Braising Techniques for Beef Neck Bones
The right blend of spices and vegetables turns simple ingredients into a memorable meal. Let’s explore how to layer flavors and craft a gravy that elevates every bite.
Essential Seasonings and Marinade Tips
Start with a bold spice rub: 1 tbsp cumin, ½ tsp allspice, and a pinch of red pepper flakes. Massage this mix into the meat before searing. The heat activates the spices, releasing earthy aromas that penetrate deep into the fibers.
Creating a Rich Gravy with Vegetables and Stock
After searing, sauté diced onions and minced garlic in the same pan. Stir in 2 tbsp tomato paste until it caramelizes—this builds a savory base. Use broth to deglaze, ensuring to scrape up the caramelized bits for optimal flavor.
| Ingredient | Quantity | Purpose |
| Cumin | 1 tbsp | Adds smoky depth |
| Tomato Paste | 2 tbsp | Thickens & enriches sauce |
| Garlic Cloves | 4-5 | Boosts aromatic intensity |
Sprinkle 1 tbsp flour into the slow cooker during the last hour. This thickens the liquid into a velvety gravy. For extra richness, add a bay leaf or rosemary sprig while braising.
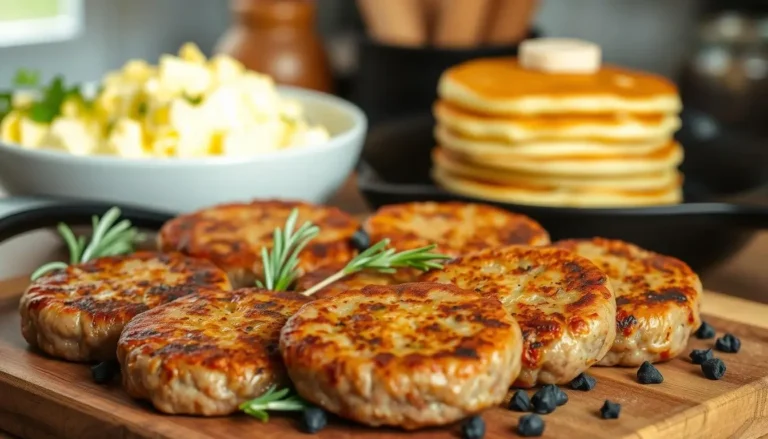
Pair the finished dish with creamy mashed potatoes or buttered noodles. The gravy clings perfectly to starchy sides, creating balanced comfort food. Watch heat levels: Too high, and the sauce may scorch; too low, and flavors won’t meld properly.
Conclusion
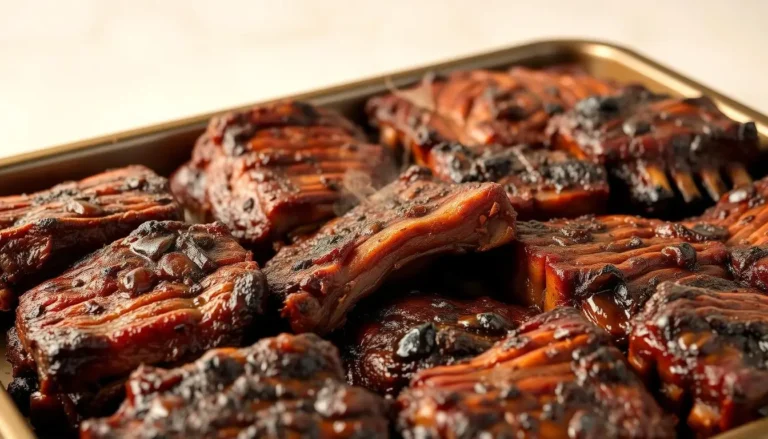
Your slow cooker does the heavy lifting for a memorable dish that rewards patience. By selecting well-marbled cuts and searing them to lock in juices, you create the foundation for tender, fall-apart braised beef. The gradual cooking process melds spices with rich beef stock, yielding a gravy that’s perfect over mashed potatoes or egg noodles.
Don’t toss that flavorful liquid left in the bottom pan—set it aside for tomorrow’s soup or stew. Want to elevate the dish? Swap half the stock for a flavorful broth during braising. This adds complexity while keeping the meal budget-friendly. A splash of robust broth also deepens the sauce’s color and aroma, creating a rich base that clings to every bite.
Versatility is this recipe’s superpower. Use leftovers in tacos, stir into risotto, or freeze for quick meals. With simple techniques transforming humble ingredients into something extraordinary, your next comfort food masterpiece awaits.
FAQ
Do you need to sear the meat before slow cooking?
Searing isn’t mandatory, but it adds depth to the flavor by caramelizing the surface. Use high heat in a skillet with oil for 2–3 minutes per side before transferring to your slow cooker.
How long does it take to cook them until tender?
On low heat, allow 6–8 hours. The connective tissues break down slowly, resulting in fork-tender meat. High heat reduces the time to 4–5 hours but may sacrifice texture.
Can you substitute other liquids in the braising liquid?
Yes. Replace it with equal parts broth or diluted apple cider vinegar mixed with water. This maintains acidity while balancing richness without compromising flavor.
What vegetables pair best with this dish?
Root vegetables like carrots, potatoes, or celery work well. Add them during the last 2 hours to prevent overcooking. For aromatics, try garlic or onions early in the process.
Are these cuts high in fat?
They contain marbling that melts during cooking, enriching the broth. Skim excess fat from the surface after cooking if preferred, but retain some for flavor.
Can you overcook them in a slow cooker?
Overcooking is rare due to moist heat, but extended times can make the meat mushy. Stick to recommended durations and check tenderness with a fork.
Is tomato paste necessary for the gravy?
Tomato paste adds umami and thickens the sauce, but you can omit it. Replace with a tablespoon of soy sauce or Worcestershire for a similar depth.
How do you store leftovers safely?
Cool completely, then refrigerate in airtight containers for up to 3 days. Reheat gently on the stove or in a microwave, adding broth to maintain moisture.